Images
Listed below are the three final images I created for this course. The directions on how each image was created is written directly beneath the image.Icon Image
To create my icon image, I first chose a star located on the "flower girl's" shirt. I used the masking tool to set the shape of the star. I used the quick select tool to remove the background. Then, I exported it as a PNG-8 and chose two colors (yellow and black) to appear on the star. Last, I sized it to 100x100.
Final Banner
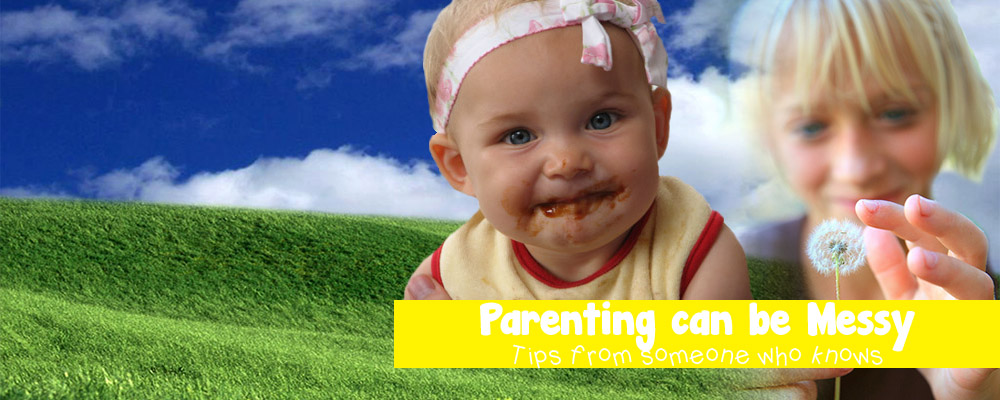
To begin, I opened “bkgnd02.jpg” in Adobe Photoshop as my background image. I clicked on the lock on the background layer, so this was no longer registering as the “background”, but as another layer. Then, I changed the pixels and cropped some of the photo. From there, I added my first foreground image (the messy baby), removed the background, and inserted the image onto the right side of the background. Then, I added my second foreground image (the girl with the flower in her hands). For this image I removed the background, and used the gradient tool on her left side. This image was placed on the far right side of the banner. Lastly, I added text and a yellow rectangular box to sit behind my text. I saved it as a JPG and uploaded it to my bengal account.
Final Image
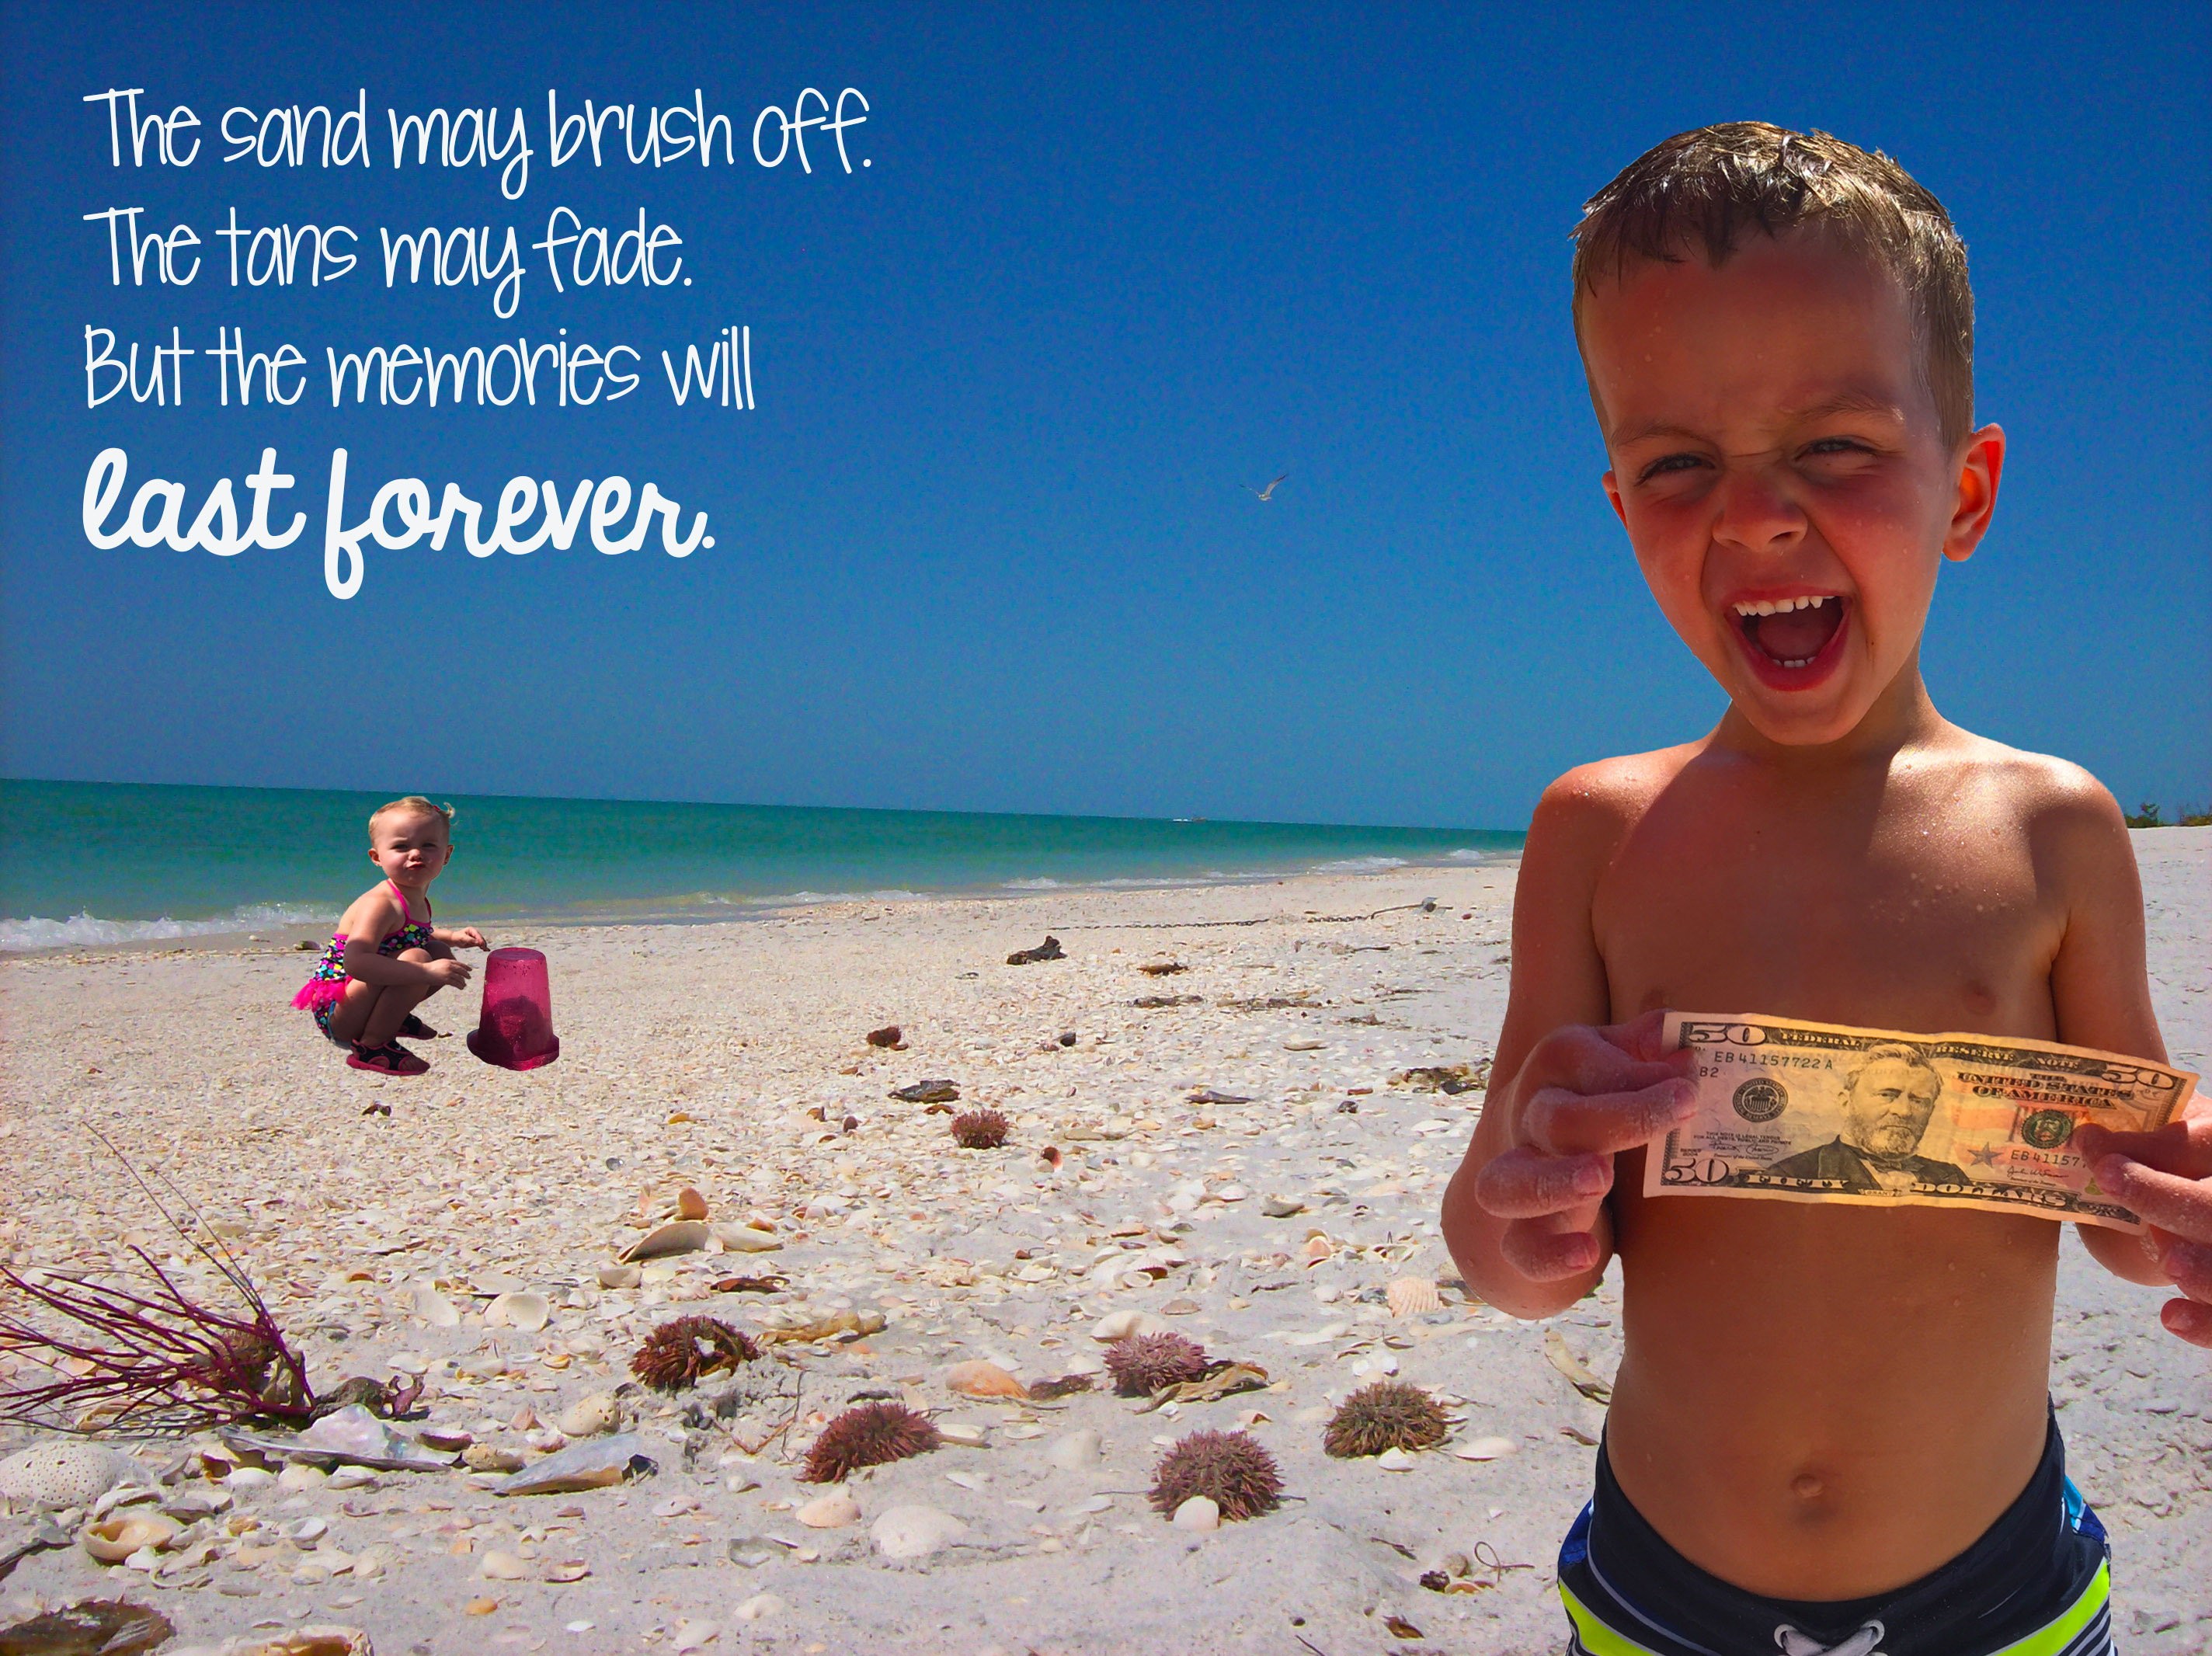
When editing my final image, I used masks and the quick select tool to remove the backgrounds from the image of my daughter and my son.I used the transform tool to resize both images, so they would fit properly with the background photo. (This tool is under "edit".) To adjust the background layer and make it a bit brighter, I adjusted the brightness/contrast under the layer tab by choosing "new adjustment layer". I changed the brightness to 86%. I also adjusted the vibrance/saturation on my son in the front- it made him look at little "sun-kissed". This was also a choice under the layer tab "new adjustment layer"-choose vibrance. To adjust the text, I changed the "blending mode" (which is above layers list). I changed the opacity to 55% and took the fill down a bit to 97%. I then added another layer of text for the last line of my quote, so it would stay white and stand out a bit more.